Tuesday, May 28, 2019

Spring cruise day 3


Day three we left the rhode on the late side and had a lovely sail across the bay and down around black walnut point. We made a side trip to oxford for ice. The crew of Sugaree pulled up to the fuel dock at what used to be Brewers Marina where we had a bad experience a couple of years ago. We pulled into the town harbor, slowed to a crawl, deployed Matt in the dinghy, and carried on into the harbor. Matt went to the dock and got ice and returned in a few minutes reporting good service and improvements to the property. Perhaps this place will be worth a visit Sometime. We arrived an hour and a half later on La Trappe creek, in the local hangout spot to find it full of power boaters flying trump 2020 flags. They finally cleared out and we had the whole place to ourselves. We had a small fire on the beach and later hung a waterproof flashlight in the water and watched the little fish and shrimp swarm it. 


Caesar salad, ribeyes, and fried potatoes for dinner. 


Sunday, May 26, 2019

Spring cruise day 2


Day two we made our way out of bodkin and did some light air sailing down the bay making for Harness Creek on the South River. We failed to take into account the holiday weekend and when we arrived found no room. We turned around and motored for the rhode River which frankly looked like a mooring field. There were easily 50 big sailboats anchored behind flat island.


After anchoring in sheep’s head cove the rest of the fleet arrived and we were persuaded to move behind big island, where we were treated to a three hour water skiing and tube towing bonanza by the locals. During the night we had some weather roll through and one of our boats dragged anchor twice. 

In the morning we learned that the large groups of fifty or so sailboats are the members of the Chesapeake sailing club, a group that exists on paper only and meets up like this a couple of times a year. They even have flag officers for some reason. 

One boat from our club caught up with us but lost their transmission on the way in and had to sail as far up as they could.  Our group met up with them to plan how they would get home without getting towed. They seemed in good spirits over all in spite of their suffering.  


Saturday, May 25, 2019

Spring cruise day 1


Day one we set out under motor, rounded turkey point and raised sail. We had a decent sail, making 5 knots at times, but it didn’t really pick up until late in the day when we were basically at our agreed destination of bodkin creek. Having never been there before it was a nice little spot with easy access to the bay. Good protection without being too far out of the way. 


The crew was in good spirits. 


Thursday, May 23, 2019

First Major Mistake

We know a couple who say that when you are learning something new, you go until you make your first major mistake and then you stop and regroup.

Well boy howdy did we make a mistake.

The reinforced hose to my raw water galley pump has been too short since Matt cut it to add antifreeze to the pump two years ago. This results in getting one good pump of water and then the collapse of the hose.  We wanted to try to replace the hose, but this would require closing the through hull -- which had worked at one point.  I tried it, it wouldn't budge.  Matt tried it, it wouldn't budge but he said to me "We need to leave this alone, or we're going to break something."

Did we leave it alone? Nope.

We tried it with a cheater bar. DO NOT DO THIS.  Unless you are already sinking do not do this.

It opened up the seal of the caulk between the wood backing plate and the hull, which let in a nice sheet of steady water flow -- we calculated it to be about 1/2 gallon per hour.  Which is survivable I guess but we had a panic and, as the lift was not available to haul us out, we got out the emergency star-brite epoxy sticks, made snakes, wrapped them around the backing plate and the bottom of the through hull.  Water still sheeted in, pushing the epoxy out of the way.  We mushed it back into place a few times (I think it was old and it took a long time to kick), still panicking quite a bit.

The flow slowed to maybe 1/4 of a gallon an hour and we left - we had work commitments the next day - with the automatic bilge pump on and our fingers crossed.  This was nothing the autobilge pump couldn't handle, and frankly the bilge is so huge a full week of water flow would not have endangered us.

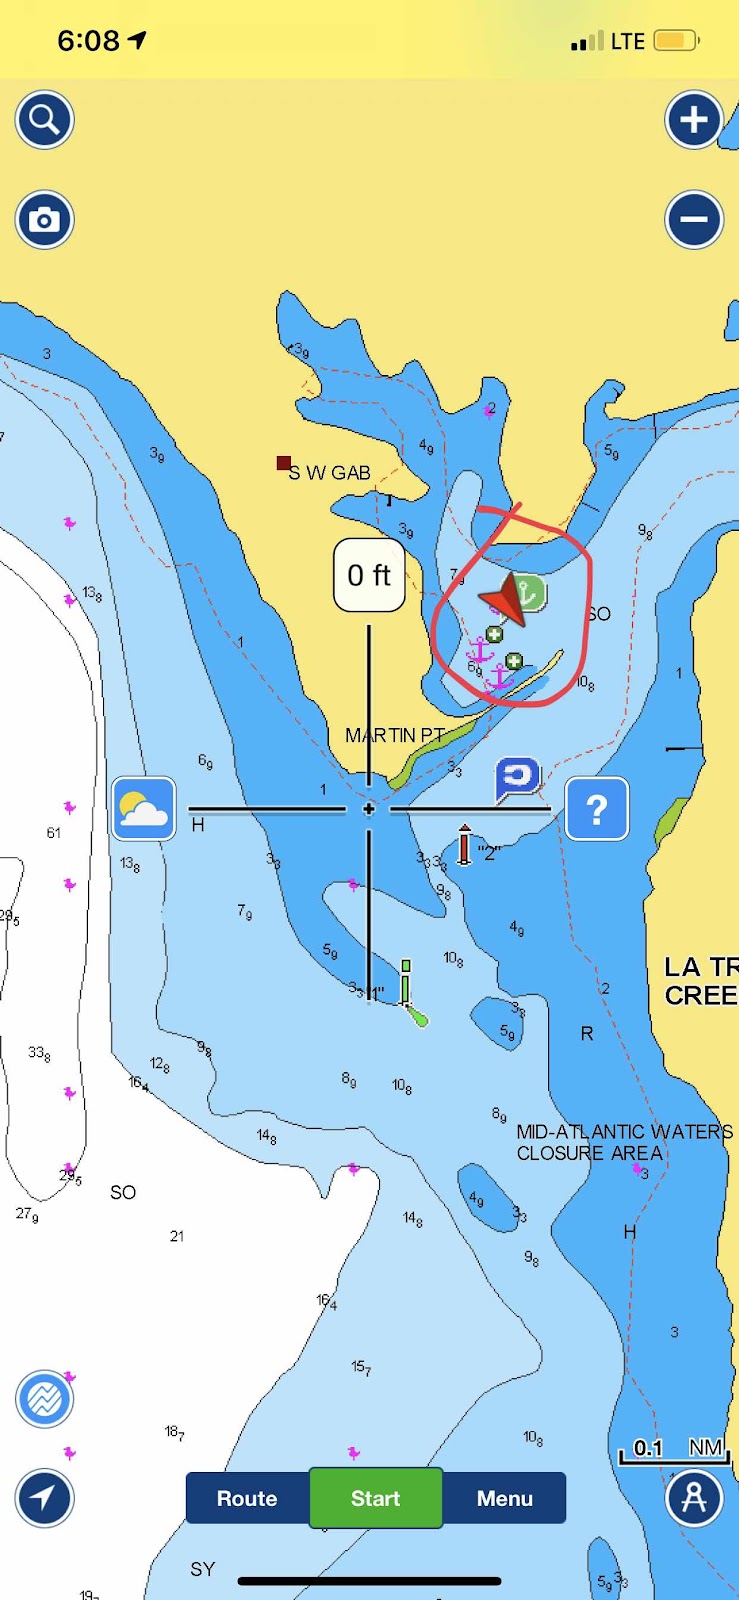
Unable to take the suspense any longer, we went back last night to find that the bilge was full of ice-melt from the cooler, and the leak had stopped.  We will be doing some serious through hull replacements when we get hauled in the fall.  They all are seized open.  It would be nice to set up a manifold to reduce the number of holes in the hull but the idea of trying to figure out the paths for the hoses seems impossible.

We are now loaded with all our dry goods and cocktail mixers (we like to do a signature cocktail for everyone) and all we need are our clothes and our cold food items.


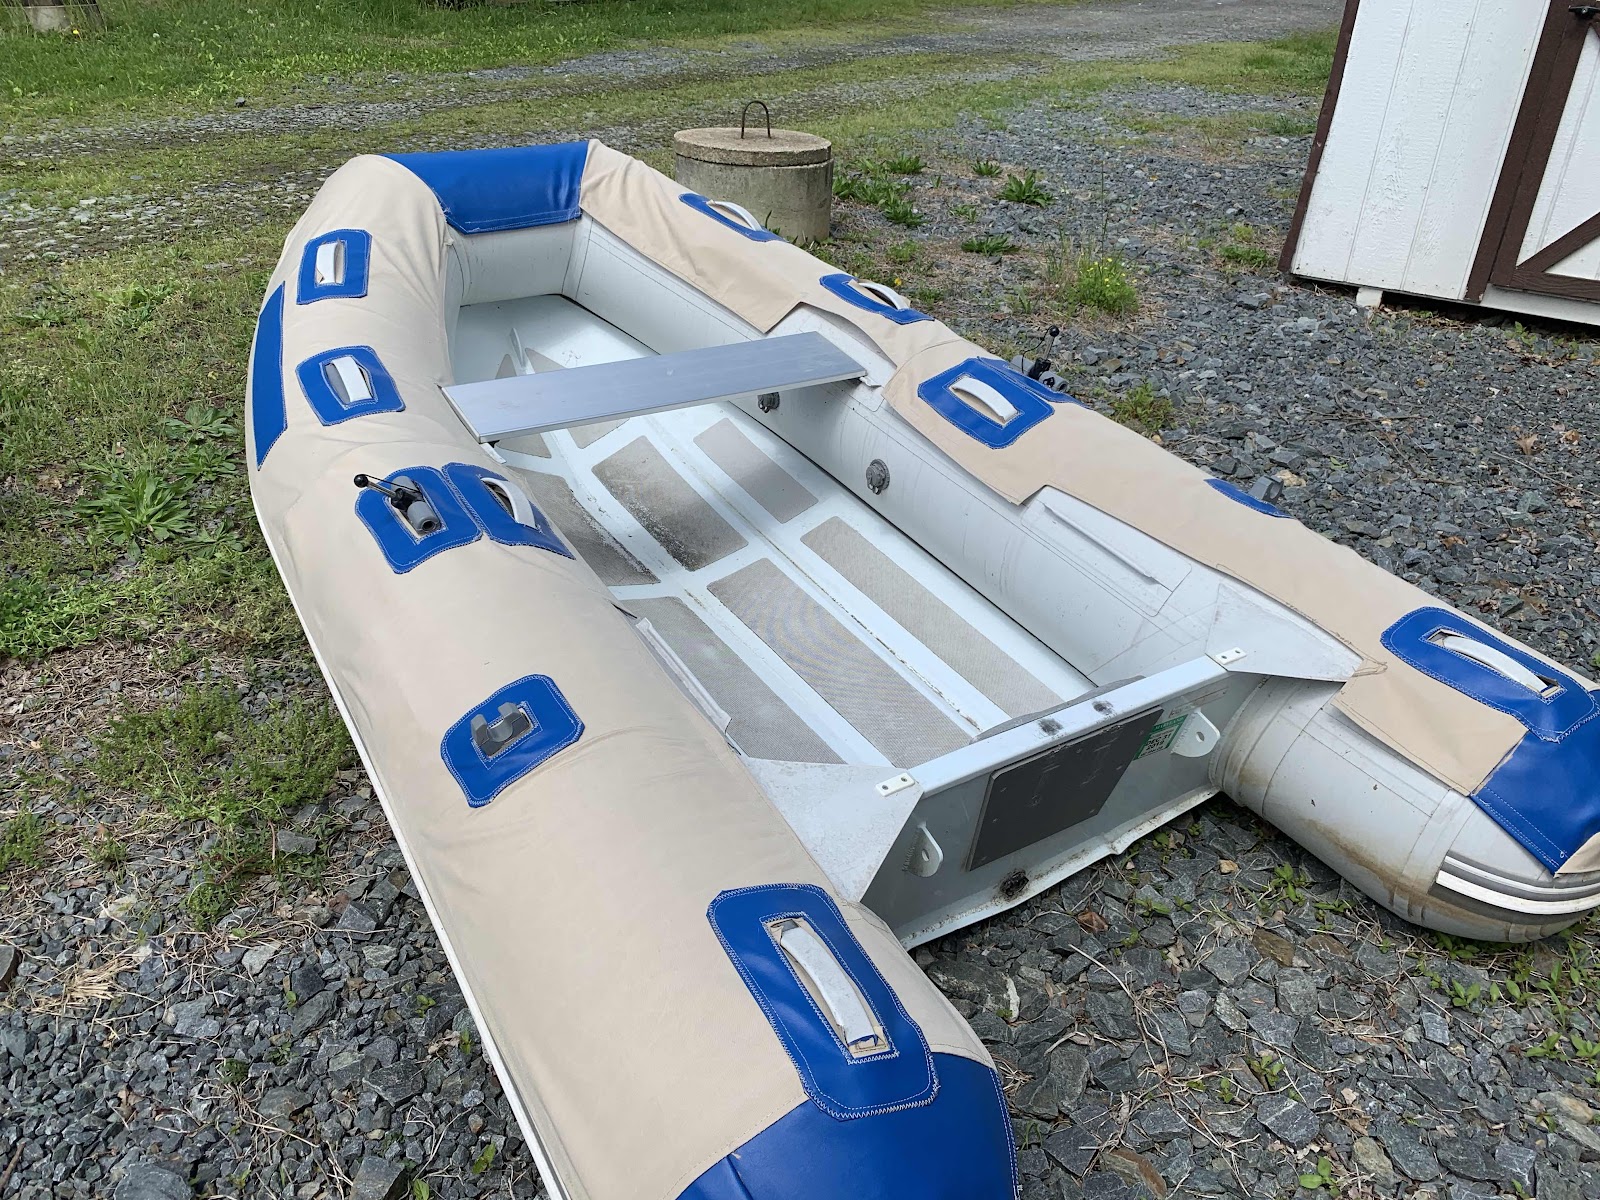
Additionally as a side note on the dinghy chap installation -- they fit really nicely but do look amateurish up close.  I also somehow was at least five feet short of hook velcro and was not able to put it on one side.  They have stayed on admirably nevertheless.  I ordered more velcro but when it arrived found that I had ordered the loop side instead and so it is useless.  The new velcro will hopefully arrive shortly.

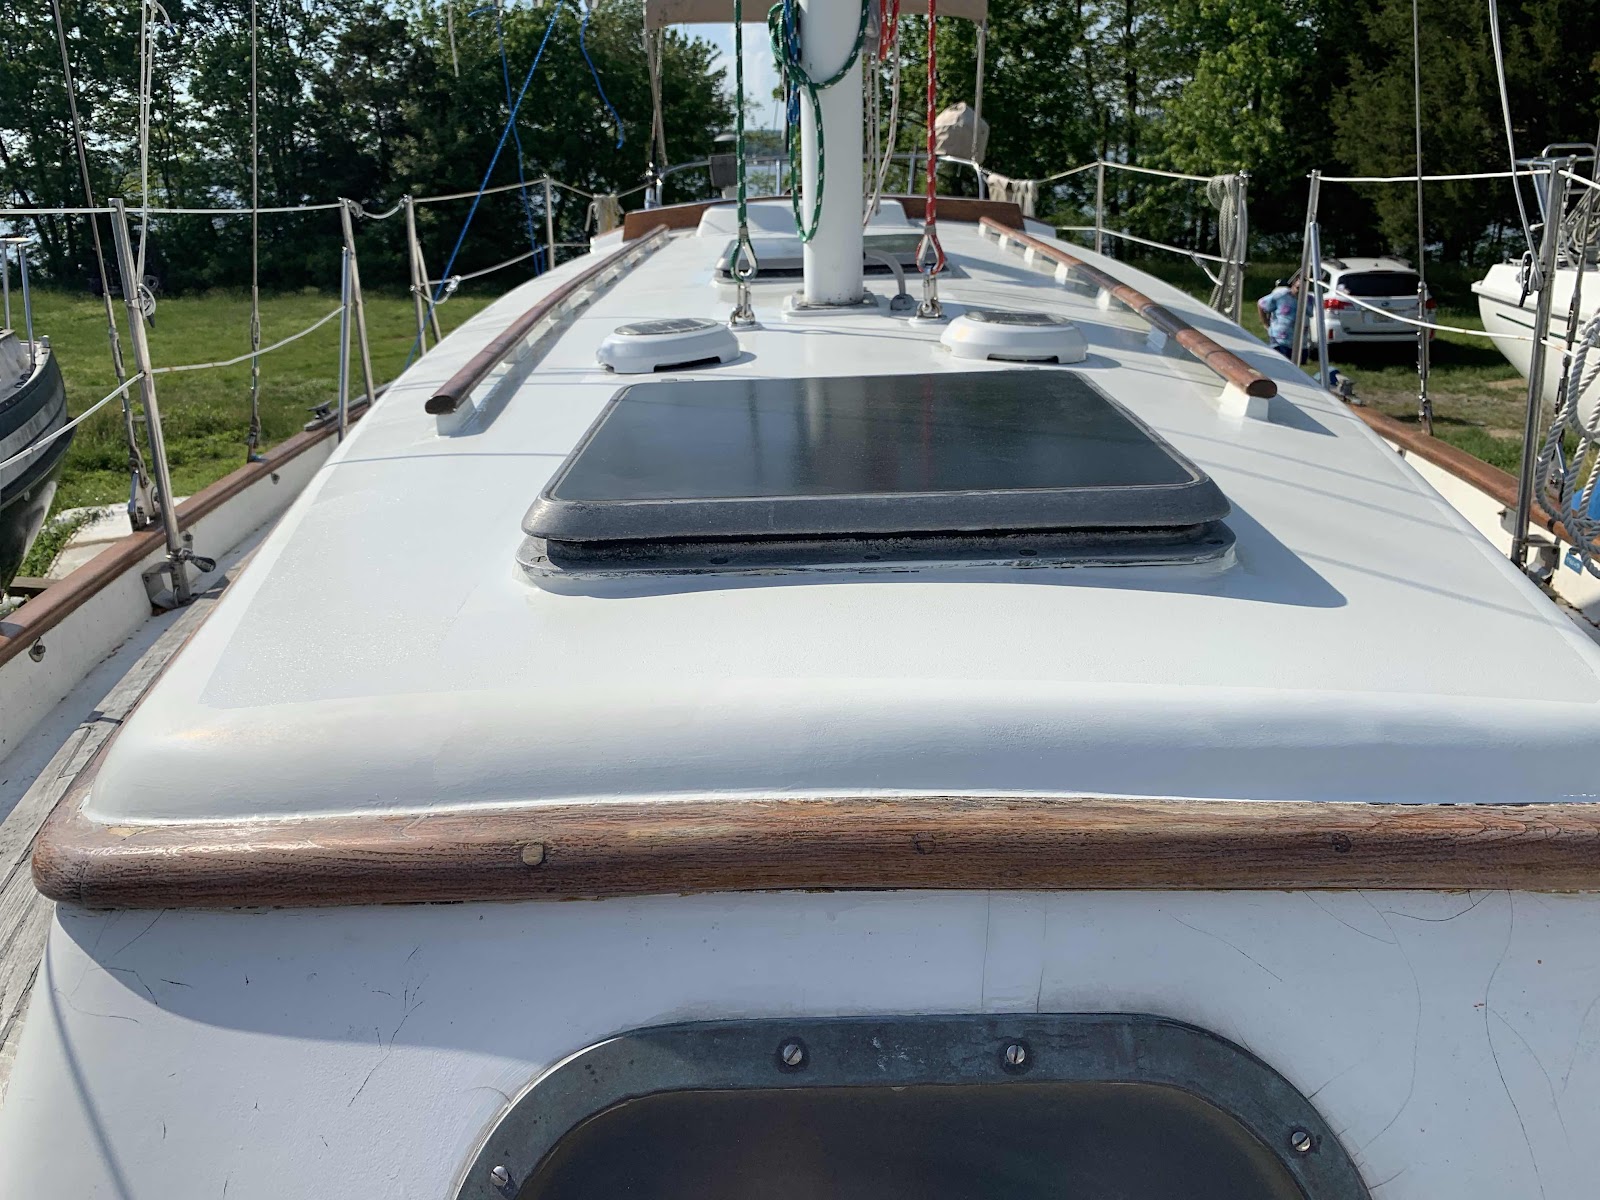
I also did a test fit of my waterproof hatch rain fly/fabric dorade and it fits perfectly. I do need some way to keep the baffle from sagging too much, but I will take care of that next week.


Last minute marathon as usual

Aside from the final coats of paint, we were waiting on a replacement traveler with line control for the car to arrive.  It seemed to take forever, but eventually did arrive.  This product is advertised as a direct replacement, custom bent to your arc, custom screw hole locations.  It arrived and not only was the arc off, the screw holes were off, and it was so tall that the existing 6 inch bolts were too short to even be visible in the holes in the ceiling.  Our traveler mounts to a beautiful piece of teak. You can see it in the photo below. Our initial thought was to shave the teak down about 3/4 of an inch to the top of the sea cover, and then drill out the holes in the traveler another 3/4 of an inch to get the length needed for the bolts to come all the way through.  These two tasks are somewhere at the very bottom of my list of "shit I really don't want to do." 


It took many passes with an electric hand-planer eating up that teak.  Beautiful wood chips everywhere. We got off what we needed to remove, but we definitely still needed another 1/2-3/4 of an inch.  As we were taking the new traveler to the drill press I noticed that the holes in the bottom of the traveler are significantly larger than the holes in the top -- if we had drilled through the top, the screws would have had nothing to hold them in.  Full stop.  We went back to the boat in a panic.  Had we shaved off the teak for no reason? Now what?  McMaster Carr only had the bolts in this size up to 6 inches.  We started calling machine shops, screw manufacturers, welders, etc. This went on for two days before someone pointed out that we could get slotted head stainless bolts in a slightly lower grade than what we had been searching for in 7 inch lengths.  Sometimes you get so caught up in panic that you can't see what is right in front of you.


Meanwhile, we had purchased a new anchor -- finally -- something a little more modern than the hinged plow anchor we had been struggling with.  We went with a Rocna in 33 pound size -- naturally the tang is too tall to fit in our anchor roller correctly as there is a flat pin across the front end of it.

We tried a stainless boom bail but it was a hair too wide.  Compressing it in the shop vise just resulted in breaking the thing.  Ultimately we went with aluminum strapping, it didn't need to be stainless, just keep the anchor and line from jumping the roller. That came out surprisingly well and now the anchor hangs down correctly in the roller.


An after work emergency trip down to the boat was required once the new 7 inch machine screws arrived for a late night hectic installation of the traveler.  It was going fine until it got dark and we couldn't see where the caulking was anymore.  It is on now but we do have some cleanup to do. Matt was able to launch after a further marathon of last minute jobs.  As a side note there was a bird's nest and four little eggs in the bimini cover. :(


The first weekend out was a success, I daresay.
We got in some light sailing, which was great just to make sure what we needed to work on or adjust.


We rescued a sizeable bunch of balloons out of the water.


And I tried out my new stand up paddleboard.


Tuesday, May 7, 2019

Weather windows

We painted with Interlux Perfection once before, years ago. At the time we said we would never do it again. It was torture, difficult, impossible to get rollers that weren't dissolved by it, stinky, toxic, and required such a fine set of conditions with a short re-coat window between when it can be touched and when it can be re-coated vs when you have to sand between coats that we had to take two days off of work to manage the minimum 2-3 coats.  Picture one shows what we were trying to fix -- cracks and circles -- cracks and circles everywhere.


Two and three show the fairing compound at the bow and from the cockpit.


Picture four shows coat one applied and shiny as can be.  We had two cans of two part flattening agent we had purchased to reduce the gloss in the final coat.  The plan was to do one more full coat after this with the flattening agent, then tape off the non-skid and do a coat of that where we want non-skid texture.  Unfortunately there is a very small fine print section of the technical spec sheet for the flattening agent that says it reduces the mar resistance and wearability of the paint and is therefore NOT Recommended for outdoor use.  So that was 120.00 out the window.  A drop in the bucket but whatever.  So we waited until the evening and then put on the second coat, hoping the evening dew would settle onto the wet paint and take the gloss out (this is a thing, I promise).  It worked, but unfortunately we missed so many spots that we had like 80 percent matte and 20 percent gloss finish.  And a bird pooped on the wet paint too so that was a nice bonus texture surprise.

Instead of painting AGAIN (we were basically out of paint if we wanted to also manage the non-skid) we taped off anyway and slapped on a coat of non-skid.  My only concern at this point is that it might not be textured enough to prevent you from sliding.


Meanwhile I've been working on dinghy chaps for the dinghy. I used cheap dollar store clear shower curtains to make a patter.  I cut them to size, taped them together, marked them up with a sharpie, and then used the pieces to cut fabric.  They don't really hold up to close inspection and I'm not sure how they will do long term, but for a first attempt, I'm pretty happy with them.  (We put the dinghy in the water -- the suzuki started right up on last year's gas wow-- so here's hoping the velcro doesn't come undone and they don't float away altogether)


Here's a progress photo for the rebuild of the stern seat.  Matt disassembled it, cut off all the hardware from the back, epoxied it back together, and we just re-installed it.  The boat is starting to look like a boat!  Our main hold up is that Garhauer has our mainsheet traveller.  IDK when we will see it again. 


First Blog Entry

First Blog Entry: August 12, 2015: Love at First Sight